One of the best ways to get your kids engaged in learning is through themed science. Make the most out of seasonal holidays to do fun concept science experiments that can propel their love for learning significantly. You’re sure to increase the fun tenfold if you combine their experimental nature with some Christmas inspiration! For this reason, we selected the 8 best Christmas science experiments for kids to do this 2021.
These captivating science projects are one of the pillars for your kids' STEM-themed Christmas celebration. Keep their learning routine active without taking the fun away from holidays! Plus, you probably have the supplies needed for these holiday STEM experiments in your home, so grab them and let’s begin!
Table of Contents
Best Christmas Science Experiments this 2021
1. Dissolving Candy Canes Experiment
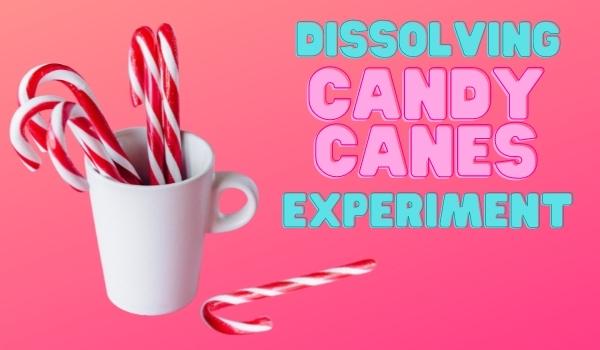
Candy canes are some of the staple aesthetics we see whenever the Yuletide season arrives. Holidays are usually all about sweets and treats, so using candy canes is a hook in itself (get it?). In this Christmas science experiment, children will use candy canes and various liquids to learn about solubility.
Kids might not realize it, but solubility is a part of life. For example, every time they digest their food or drink medicines, solubility plays a significant role in breaking down and distributing the good stuff in the body with the help of water. This holiday science experiment aims to let kids see solubility in action.
Here are the supplies you’ll need:
-
Candy canes
-
Mason Jar (or any clear container)
-
Various liquids (feel free to choose or ask your child what fluid they prefer using for this Christmas experiment)
-
Water
-
Vinegar
-
Oil
-
Soda/Sparkling water
Directions:
-
ASK your child to guess which fluid they think will melt the candy cane fastest and slowest. Let your children take notes.
-
ALIGN all mason jars in one location. The number of containers will depend on how many fluids you like to use.
-
POUR the liquids on their respective mason jars.
-
PLACE one unwrapped candy cane on each container.
-
LEAVE the setup aside for a while and set a timer for 2 minutes to check the experiment results.
-
DISCUSS the results with your children and determine if they guessed correctly.
How to explain the experiment:
The solubility of candy canes on different liquids depends on their polarity. Polar objects dissolve faster in polar liquids. At the same time, non-polar substances dissolve better in non-polar fluids.
In this Christmas science experiment, candy canes are composed of sugar which makes them polar. That’s why they dissolve faster in water, vinegar, and soda. However, we fail to see them dissolve on a non-polar liquid like oil.
2. Peppermint Slime
Most kids, including my own, are extreme slime lovers. While I might not fully understand the infatuation over these messy things, kids love them, and I’m sure yours do too. This Christmas science experiment features a slime recipe that fits perfectly with this Yuletide season. Trust me. No slime will smell as Christmas-y as this one.
Here are the materials you need:
-
4 oz white glue, we recommend Elmer’s
-
½ teaspoon Borax
-
1 cup of water
-
Pink food color
-
Peppermint extract
-
Glitter
-
2 cups
-
2 spoons
Directions:
-
POUR the entire glue into 1 cup.
-
ADD one tablespoon of water to the mixture.
-
DROP some food coloring until you achieve the desired color.
-
SPRINKLE glitter into the mix and then stir.
-
On a separate cup, POUR 1 cup of water.
-
ADD ½ teaspoon of borax, then stir.
-
Slowly POUR the borax solution to the glue mixture while mixing continuously.
-
Once the mixture thickens, REMOVE the slime from the cup.
-
SQUEEZE the slime to eliminate excess water.
Finally, the Christmas science experiment ends after the 9th step. Your kids are now free to play with the peppermint slime. Although they might confuse it with bubble gum, remind the children not to eat it. Have fun!
3. Hot Chocolate Science Experiment

As the winter cold sets in, there’s no better drink to keep kids warm than hot cocoa. Why not maximize the hot chocolate sessions by making a quick Christmas science experiment out of it? Like the candy cane melting project, this science activity deals with solubility.
Here’s what you’ll need:
-
3 mugs
-
3 packets of instant hot chocolate
-
A measuring cup (optional)
-
Spoon
-
Water (three temperatures: hot, lukewarm, and cold)
Steps:
-
POUR the contents of each hot chocolate packet in each mug.
-
ADD the various temperatures of water to the cups.
-
STIR using the spoon.
-
SET a timer for 1 minute and observe which among the mixtures dissolve first.
-
EXPLAIN the results to your child.
Scientific explanation:
If you observe in this holiday STEM experiment, hot water dissolves the chocolate powder fastest. The reason is that when temperature increases, the water molecules move faster.
This rapid movement breaks down the sugars quicker, causing faster solubility. That’s why lukewarm water dissolves the powder next, while the last one is cold water.
4. Blizzard in a Jar
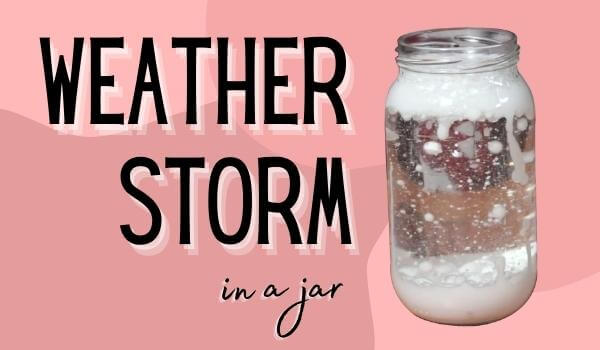
All kids love to play outside. But with the winter chill all over the place, it’s best to keep children cozy indoors. Weather storm in a jar is a science Christmas experiment replicating the outside snow blizzard into a jar. This is very easy to perform, and your preschoolers will love seeing the snowy result of this holiday project.
Honestly, if you have Alka-Seltzer tablets to spare, you can consider this experiment a Christmas STEM craft as they would make a great living room display.
Here are the things you need:
-
Baby oil
-
White paint
-
1 cup water
-
Alka-Seltzer tablets
-
Mason jar
-
Glitter and blue food coloring
Directions:
-
FILL about ¼ of your jar with baby oil
-
SQUEEZE some food color and glitter to the oil until the desired color is achieved
-
On a separate container, BLEND water with a few tablespoons of paint
-
POUR the water and paint mixture over the oil solution until the jar gets about ¾ full
-
DROP your Alka-Seltzer tablet into the mix and watch the storm whirl before your eyes!
The science behind:
Since oil is less dense than water, naturally, water sinks to the bottom of the jar. However, when you place the Alka-Seltzer inside, the interaction between the tablet and water creates an air pressure that pushes water upward. The oil then, being less dense, brings the swirling water back down.
This back and forth between water and oil creates the snowstorm illusion of this Christmas science experiment.
5. Winter Playdough
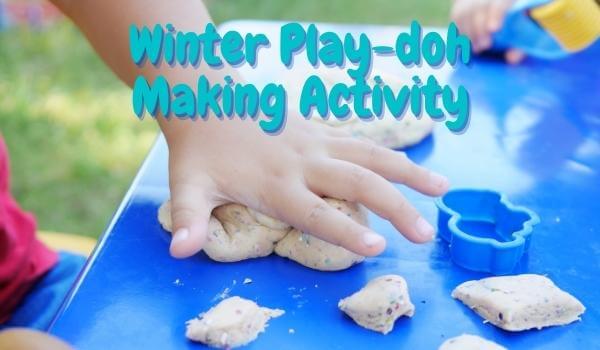
Playdough has always been the go-to of kids ever since. Now that the December breeze is coming to fruition, it would be best to create playdoughs that revolve around this holiday theme. Check out this Christmas science experiment to learn how to make winter playdoughs.
Check out our winter playdough recipe:
-
1 ½ cups of flour
-
½ cup of salt
-
1 cup hot water
-
2 teaspoons cream of tartar
-
2 tablespoons vegetable oil
-
1 large bowl
-
Food coloring (we recommend blue)
-
Glitter (optional)
Steps to make winter playdough:
-
WHISK your flour, salt, and cream of tartar in a large bowl
-
MIX in your vegetable oil and water slowly. Pour your water about a quarter cup at a time. You may DROP some peppermint essential oil to the mix if you want your dough smelling like Christmas.
-
ADD a few drops of blue food coloring until the desired color is achieved.
-
SPRINKLE some glitter to the mix.
-
KNEAD the dough until smooth and clay-ey.
The underlying science:
This holiday science experiment feels more like a culinary class than STEM. But that's totally okay because science lingers in everything.
When you mix water with flour, the fluid hydrates the proteins in the powder, causing them to form a dough. Salt strengthens this sticking process while acting as a preservative. At the same time, the cream of tartar helps in keeping the playdough soft and pliable. Lastly, the oil coats the dough and prevents it from drying out.
That’s the science behind this Christmas STEM experiment.
6. Crystal Candy Canes Activity
Candy canes are incredible sweets, but they won’t last that long if left on display. Thankfully there’s a simple trick to make candy cane decorations using household supplies. Of course, we won’t be using any real candy canes here, but the result will look just like it.
Crystal candy canes not only give the holiday feel, but the crystal effect adds an excellent snowy design. This Christmas science experiment deals with some basic chemistry, so listen closely to the explanation below!
Materials you need:
-
Borax
-
6 cups of water
-
3 Mason Jars
-
Pipe cleaners (red, green, and white colors)
-
Pan
-
Spoons
-
Measuring cups
Steps for this holiday STEM experiment:
-
TWIST two pipe cleaners together to create candy canes. There are three possible combinations: red + white, white + green, and red + green.
-
On a pan, BOIL 6 cups of water and turn the heat off.
-
ADD 18 tablespoons of borax and stir the mixture until the powder dissolves completely.
-
FILL 3 jars with the solution and gently drop each candy cane inside.
-
WAIT for 18-24 hours, and you’ll see crystals forming around each candy cane.
-
POUR the solution and secure the crystal candy cane that formed.
-
DRY the candy canes.
Once they’re dry, this Christmas science experiment is officially over. After that, you may opt to tie strings around the crystal ornaments and hang them over your tree. So now you have finally created a Christmas decoration using simple household supplies.
Crystallization explained:
The borax powder dissolves in the solution better when the liquid is hot. If you suspend the candy canes at this moment, you give the mixture ample time to form around the object. As the liquid begins to cool, most of the liquid evaporates, and the water molecules restore their bonds with each other. This leaves less room for the solution to attach with the dissolved borax, thus causing the borax to form crystals.
7. Grow Your Own Christmas Tree in a Sponge
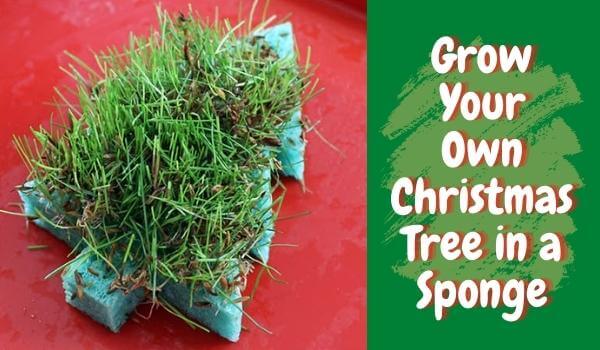
We’ve gone through many chemistry lessons with the holiday activities above, but this Christmas science experiment project deals with botany. Making your Christmas tree sponge is a terrific way to combine the study of plants this holiday season. Plus, you get to teach your children the importance of care in growing greens. You only need a few supplies to perform this STEM activity. Check them out below!
Materials needed for the Christmas tree sponge experiment:
-
A regular square dishwashing sponge
-
Grass seeds
-
Water
Directions:
-
CUT your sponge into the shape of a Christmas tree, as shown below.
-
SOAK the sponge in water until it’s fully saturated
-
INSERT some grass seeds into the sponge
-
SPRAY with water now and then whenever the sponge begins to dry
After around 1-2 weeks, you’ll have a sponge growing with vegetation. Make sure to fashion the grass the way you like so that the sponge looks like a small realistic-looking tree. This Christmas STEM experiment is a great way to see if you’re kids have green thumbs or not. Plus, the activity is elementary, perfect for preschoolers!
Botanical science uncovered:
The sponge absorbs and retains water effectively, making it a readily available resource for the seeds. Growing seedlings follow a particular process which begins with water imbibition. The seeds rapidly absorb the water from the sponge, causing the roots and stem to grow.
Since the process happens quickly, kids need to check if the sponge is drying out. When that happens, they should sprinkle or spray some water over it to facilitate seedling growth.
8. Candy Cane Bubble Bath Bombs
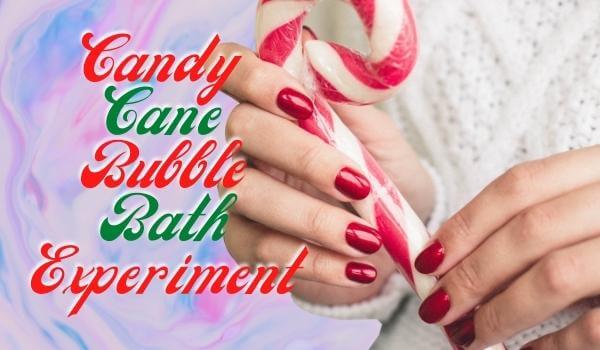
Asking your kids to take a bath this winter season can be challenging. But with the proper Christmas experiment, you might have the solution to encourage them to step foot in the bathroom. However, this holiday science activity is a bit more complicated than the previous ones. Thankfully, preparing these candy cane bath bombs is forgiving and flexible. Check out the recipe for the Christmas science experiment below!
What you need:
-
Bubble bath soap (preferably ones that are clear and produce a lot of bubbles)
-
Peppermint-scented essential oil (optional)
-
Cornstarch
-
Red food coloring dye
-
Coconut oil (optional)
Here are the steps:
-
SQUEEZE around ½ cup each of the bubble bath into two separate bowls.
-
ADD 0.5 teaspoon of coconut oil to both containers.
-
POUR a few drops of red food coloring in ONE of the bowls.
-
DROP some essential oil in the mixtures if you want.
-
Begin with the colored mixture, ADD cornstarch and mix until you get a dough-like consistency. We recommend pouring in 1 teaspoon of cornstarch at a time.
-
REPEAT step 5 with the plain-colored bubble bath mixture.
-
Once the two bubble bath doughs are ready, ROLL both into long snakes. (You may opt to cut the doughs into several pieces to create several mini candy canes soaps)
-
TWIST the two long doughs together to get a candy-cane-looking bubble bath.
When kids finish creating their crafts, they’ll be super excited to try them out in the shower. Not only did they enjoy doing the simple science experiment for Christmas, but they’d also smell fresh after! These things make the perfect STEM Christmas gifts too, just tie a ribbon around it, and you’re good to go.
FAQs
Why conduct science experiments on Christmas?
Any holiday is an opportunity for themed science experiments. Children are big fans of theme science and the Christmas season is an excellent avenue to teach STEM to kids. Of course, you can repeat the same concepts all year round, but incorporating them into different themes makes the learning fresh.
What are the benefits of STEM activities?
STEM activities give children opportunities for hands-on learning experiences. When you mask science lessons under the guise of an experiment, you add a fun touch to the overall learning. Kids are naturally inclined to know how things work. So they seek random stuff to tinker on. STEM experiments cater to this inquisitive nature.
Looking to Make STEM a Part of Your Kid’s Life?
Christmas, along with every other season, is an avenue to teach children scientific concepts. Take advantage of this fact by integrating STEM into your child’s daily life. Christmas science experiments are great ways to do this. In addition, Christmas STEM activities and crafts can also teach kids about science and art.
STEM toys are also tools to get your kids inclined to STEM education. For example, our STEMscope kids microscope is one instrument that can help children unleash their full potential. Visit our catalog of science gadgets and build your little scientist now!


